We can't find the internet
Attempting to reconnect
Something went wrong!
Hang in there while we get back on track

Cursor's incident: secrets in agent traces led to a fake Claude Code extension
Cursor published its full account of the incident it first disclosed on October 29. An attacker got hold of an access key Cursor had issued to Fireworks, which Fireworks had exposed. The attacker used it to copy coding-agent traces, mostly from 2025, taken from sessions that weren't in Privacy Mode. A few traces held credentials that had never been redacted. Those credentials led into Cursor's SaaS tools, and from there to archived non-production repos, support emails, and credentials users had sent to support . Using a stolen credential, the attacker placed malicious copies of Anthropic's Claude Code extension in the cache that serves Cursor's VS Code marketplace. At most 5,000 users may have received them, and they were available for about 11 hours. Anthropic's product was not at fault, and Open VSX never carried the malware .
What to check: if you installed or updated Anthropic.claude-code 2.1.312 or 2.1.313 from Cursor's marketplace during that window, follow the steps in Cursor's security notice. Cursor warns that uninstalling the extension alone may not be enough . Cursor says Privacy Mode data, production systems, official app updates and customer repos were not affected. Fewer than 0.05% of non-Privacy-Mode users had traces exposed, and each has been notified .
Any token you paste into an agent session can end up in stored traces. Cursor has since added secret scanning across its repos and restricted where credentials can be used . Kent C. Dodds noted separately that npm now runs a security scan on every publish. It can take a while, but he thinks it's worth it .
Put agent control flow in code you can see
ThePrimeagen says much of the control is lost when an agent does what you intended to do yourself . His current approach is to render his program as a visual state machine:
- When one node is wrong, he selects it and sends a prompt about that node to Cursor . He can also select large parts of the pipeline and discuss them .
- Error and exit conditions are declared in code at the top of the pipeline, so you can see where each error leads . Loops are visualised too .
-
Pressing
gdon an item opens its code or prompt . The prompt editor autocompletes based on which pipeline steps have already run, and warns when you read a value too early .
Google Antigravity is rolling out Dynamic Workflows, which takes a similar line. Run /run-workflow and the agent writes a Python script that runs subagents in parallel or in sequence, with structured handoffs between them. The aim is "deterministic control flow instead of prompt drift." You review the script before it runs and can save it to rerun the same flow (docs) .
Theo: Gemini 4 Carbon was about 5x slower in his real work
In "I was wrong...", Theo audited his own usage and found Carbon "consistently five times slower" than other models on comparable work . He says single-request benchmarks hide this because agent tools work in many steps . He measured more than 11 seconds from when a request reaches Google's server to when the model starts working, and that delay repeats on every step . He also says Carbon often fails to read the cache it just wrote, or reads an older one , and that it's due to double in price on December 1 .
A reusable trick: Carbon was one of the judges in his review runs, and it held things up. He updated his agent skill to tell agents that if they're stuck waiting on Carbon and have work to fix, they should stop it and get back to work. He says that change makes his 5x figure an underestimate . He now goes further than his earlier, partly positive review: he sees no reason to use Carbon except for security work, where it's slightly less likely to flag you .
Agent platforms: tied to Claude or model-neutral
- Self-Hosted Claude Managed Agents shipped. You get the managed-agents server, which works with your identity provider and includes OpenTelemetry telemetry and storage, plus a self-hosted console with Anthropic's first Evals product. The harness is tuned for Claude . swyx asked why self-hosted agents should be tied to Claude at all .
- LangChain raised $300M at a $3B valuation . LangSmith is now presented as one framework-agnostic platform for running, improving and governing agents . LangSmith Engine finds errors, writes code and prompt fixes, and watches production traffic for regressions . More features are due at a November 20 event . Harrison Chase argues for a model-neutral harness: you can move to newer or cheaper models and avoid being locked in to a provider that raises prices . He says coding is by far the biggest use of agents .
Smaller releases
- Devin Apps are private, shareable web apps that run on Devin's cloud computer, meant for internal tools and preview deployments . Kent C. Dodds points out that Kody.codes already does this. Its apps can use your connected MCP servers, and he runs everything from a kids' money ledger to a GitHub PR dashboard on it . He says Kody differs by working with any agent and having team-based permissions .
-
Claude Code desktop now supports custom themes built as mods: colours and animated backgrounds. You can describe the look to Claude or start from the
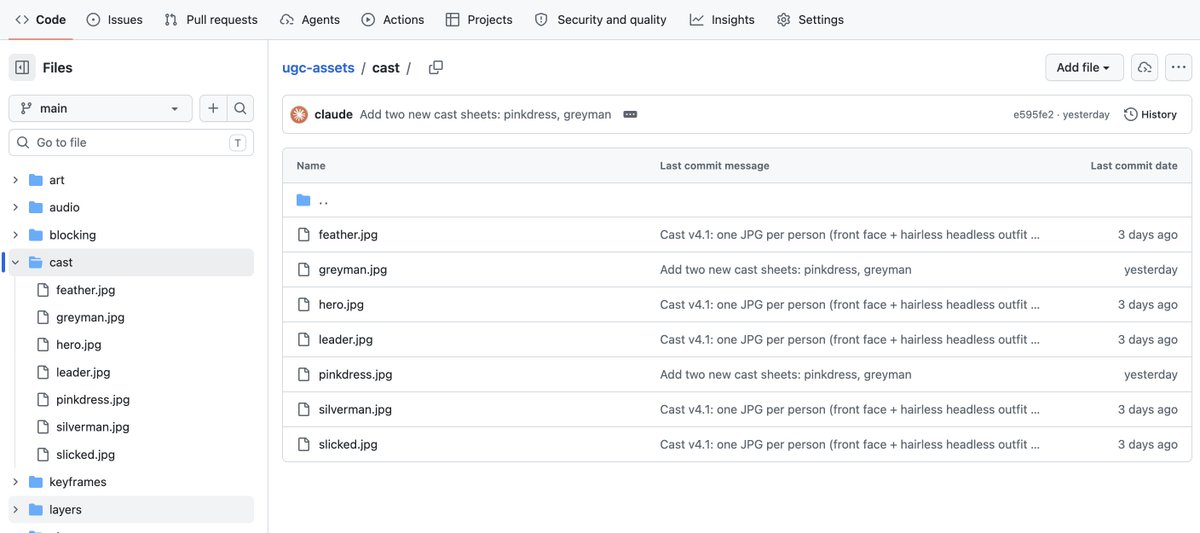
theme-examplesplugin . T3 Code nightly lets you ask the agent to change the app's UI, and the changes apply on the fly . - Token-saving tip from an AI-video workflow: keep assets in a GitHub repo and pass Claude links instead of attachments. An image sent as encoded text can cost hundreds of thousands of tokens, while a link costs a few dozen .
- Be wary of viral posts: Geoffrey Huntley says he gets about three paid-promotion pitches a day and assumes viral agent launches were paid to be boosted .

Cursor says the incident began when an attacker used an access key issued to Fireworks, which Fireworks had exposed, to copy data from a read-only bucket containing limited historical coding-agent traces. Some traces contained unredacted credentials; those credentials were then used to access selected Cursor SaaS tools and data.
- The attacker also used a stolen credential to place unauthorized copies of Anthropic’s Claude Code extension in the cache serving Cursor’s VS Code extension marketplace. Up to 5,000 users who requested specific cached versions on October 29 may have received the malicious build; it was available for about 11 hours. Cursor says Anthropic did not publish it, Open VSX never had the malware, and this was not an Anthropic product vulnerability.
- Data accessed through Cursor’s tools included selected archived, non-production Cursor source-code repositories (some with business contact information), limited support data and email conversations, product-usage metrics and contact details, summaries of some coding-agent conversations, and some credentials users had sent to support. Less than 0.01% of customers had API credentials exposed.
- Separately, coding-agent traces were exposed for fewer than 0.05% of users not using Privacy Mode; Cursor says it identified and notified those users, and that users who received no notification did not have data in those traces. The vast majority of customers were not affected.
- Cursor says Privacy Mode prompts and code, current data or live traffic, production systems, customer code repositories, the Cursor app and official updates, other marketplace extensions, and Cursor Marketplace plugins were not affected. Some archived non-production Cursor repositories were accessed, but Cursor distinguishes these from customer code repositories.
-
Users who installed or updated to
Anthropic.claude-codeversions2.1.312or2.1.313from the Cursor VS Code extension marketplace during the exposure window should follow the steps in Cursor’s linked security notice; Cursor warns that uninstalling the extension alone may not be enough. The October 30 notice included indicators of compromise, remediation steps, and system-check scripts; this update does not reproduce the detailed steps. - If credentials were exposed, Cursor says it emailed team admins the specific keys to rotate and asked the third-party services that issued those credentials to revoke them. Customers whose support or business data may have been involved were notified directly.
- Cursor deactivated the Fireworks key, cut off Fireworks’ access to shared data, moved inference traffic off Fireworks, rotated exposed and other internal credentials, rebuilt and validated the marketplace, expanded access restrictions and scanning, and redeployed production infrastructure as a precaution. It says it believes the incident is contained; the last attacker activity it saw was November 1 and was blocked, and monitoring continues.

Theo’s like-for-like audit of real-world coding-agent work found Gemini 4 Carbon consistently about five times slower than other models. He reports more than 11 seconds before it starts responding, a delay that compounds across multi-step agent turns and is not captured well by one-shot latency comparisons.
A practical workaround: after seeing Carbon stall during judging runs, Theo updated an agent skill to stop it when it was holding up useful work and resume the task; he says this made his measured slowdown an underestimate. He also reports cache reads sometimes missed the cache just written or returned an older cache.

Chase says coding is by far the largest application of agents; LangChain runs an internal coding agent alongside a go-to-market agent. LangChain leaned early into observability and evaluation because getting agents to behave as intended is a major pain point. Chase’s improvement loop is to define what good looks like for a domain, then use evaluation and observability to iterate on the agent over time. Keep the harness model-agnostic so teams can switch to newer or cheaper models and avoid provider lock-in; he says owning model optionality matters, not necessarily owning the weights. For internal agents, set spend limits, control tool access, and manage whose identity they use.

Anthropic shipped Self-Hosted Claude Managed Agents: the server works with an IDP and includes OTel telemetry and storage, while a self-hosted console adds an Evals product; its harness is optimized for Claude. @swyx questioned why self-hosted agents need to be Claude-specific, arguing they should fit any model; @threepointone planned to explore agents-as-a-service over the weekend.

- To retain control when an agent’s implementation diverges from his intent, ThePrimeagen visualizes his program as a state machine and targets a prompt to Cursor at the selected node that is off .
- His pipeline view makes error and exit conditions explicit, showing where errors lead, and includes loop visualizations .
-
For navigation and safer prompt editing,
gdon an item opens its code or prompt; the prompt editor offers autocomplete based on which pipeline stages have run and diagnostics when values are accessed too early .

- Kent C. Dodds says Kody.codes builds agent-first, full-stack apps that can use connected MCP servers and other integrations; connect third-party services once, with no additional wiring. His examples include Hyperframes slide decks, a kids’ money ledger, a thumbnail app, an Audible collection manager for his NAS, a GitHub PR dashboard, projector and home-shades controls, and YouTube livestream utilities.
- Devin introduced private, secure, shareable web apps running on Devin’s cloud computer, for internal tools, preview deployments, and extensions to Devin. Kent places Devin Apps in the same category as Cursor/Grok canvases or pages, ChatGPT sites, and Claude artifacts; he identifies Kody’s differentiators as working with any agent and having team-based permissions.

Claude Code desktop now supports custom themes built as mods: developers can describe the look they want to Claude or start with the theme-examples plugin; themes can add custom colors and animated backgrounds.
LangSmith’s agent-improvement tools provide a production feedback cycle: Observability and Evaluation surface agent behavior and measure quality, while its in-platform Engine finds errors, writes code and prompt fixes, and monitors production traffic for regressions. Agent traces can also be turned into training data to fine-tune and evaluate specialized models.

In a Claude-assisted generative-video workflow, the creator kept assets and scripts in a GitHub repo, where locked files were versioned, and asked Claude to build a page listing assets in the order they would be sent to the model. They used public GitHub links instead of embedding image files: the links reduced request size and Claude token use, worked with video models that require image URLs, and let later requests use updated assets from the repo.

Google AI introduced Gemini 4 Hydrogen for everyday coding and agentic workflows, claiming it surpasses Argon at its default thinking level on the Artificial Analysis Intelligence Index and runs 2.5× as fast as Gemini 3.8 Flash; its tunable thinking levels are designed to work alongside Carbon in Antigravity. The announcement also showcased a Google AI Studio-built 3D Medic Managed Agent that uses Hydrogen to inspect 3D files, catch errors, and patch them before export. Nicholas Moy followed up by asking, “Tritium when?”
ThePrimeagen says he struggles to get coding agents to do what he thinks should be done because the agent era entails losing control; his current approach is to visualize his program’s state machine.
Kent C. Dodds says Kody.codes already has a feature that a large company is now implementing, and positions Kody as open source, agent-agnostic, and built for teams.
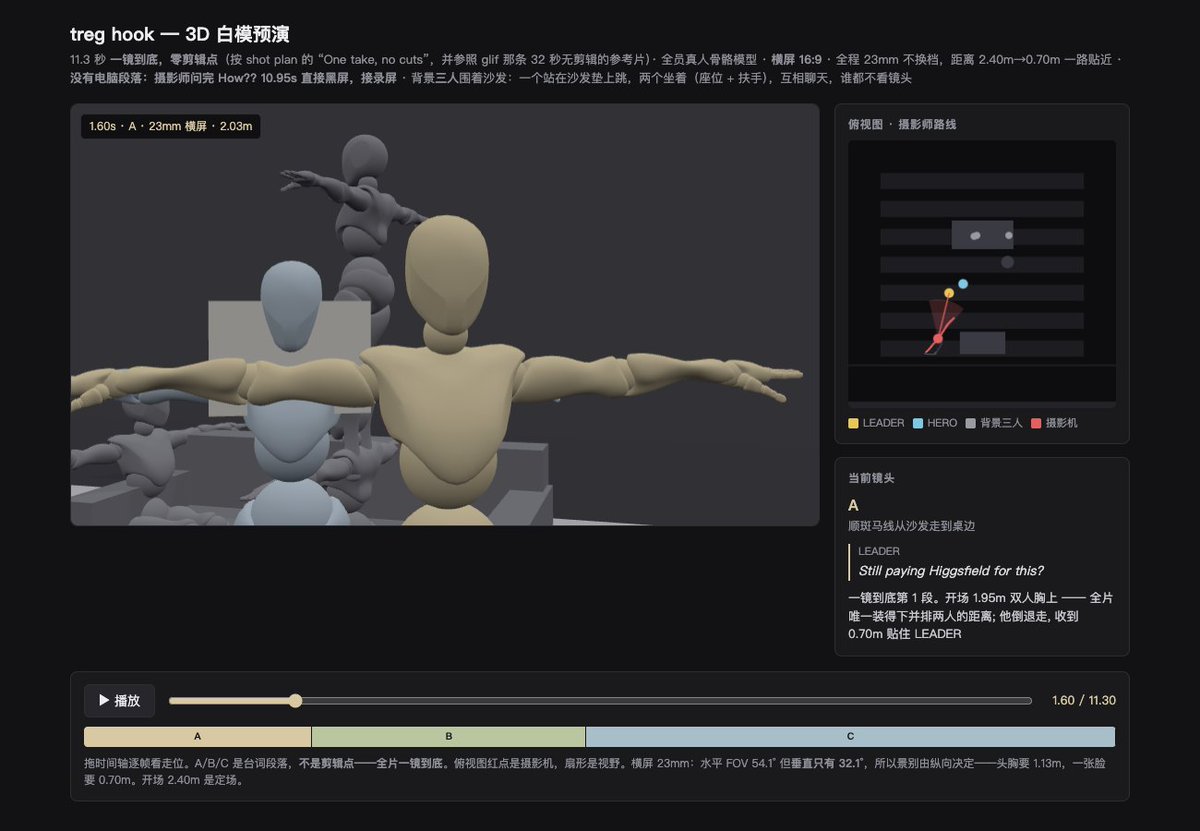
Treg announced OpenSource Higgsfield, which it says can run directly in Claude Code or Codex, replicate viral videos for $0.10/s, and be 3× cheaper than Higgsfield; it is advertised as open source with 0% markup. The project repository is superdesigndev/treg.

LangChain reports that more than 7,000 companies rely on LangSmith for agent runtime, improvement, and governance, providing an adoption signal for agent tooling.

Geoffrey Huntley says he gets about three such pitches a day and argues developers should assume viral agent-related posts are paid-boosted; this is his anecdotal skepticism, not evidence that a particular agent was promoted this way. The post he quotes claims marketers offer money for positive X posts about an unnamed agent launching that week, and calls for honest reviews.

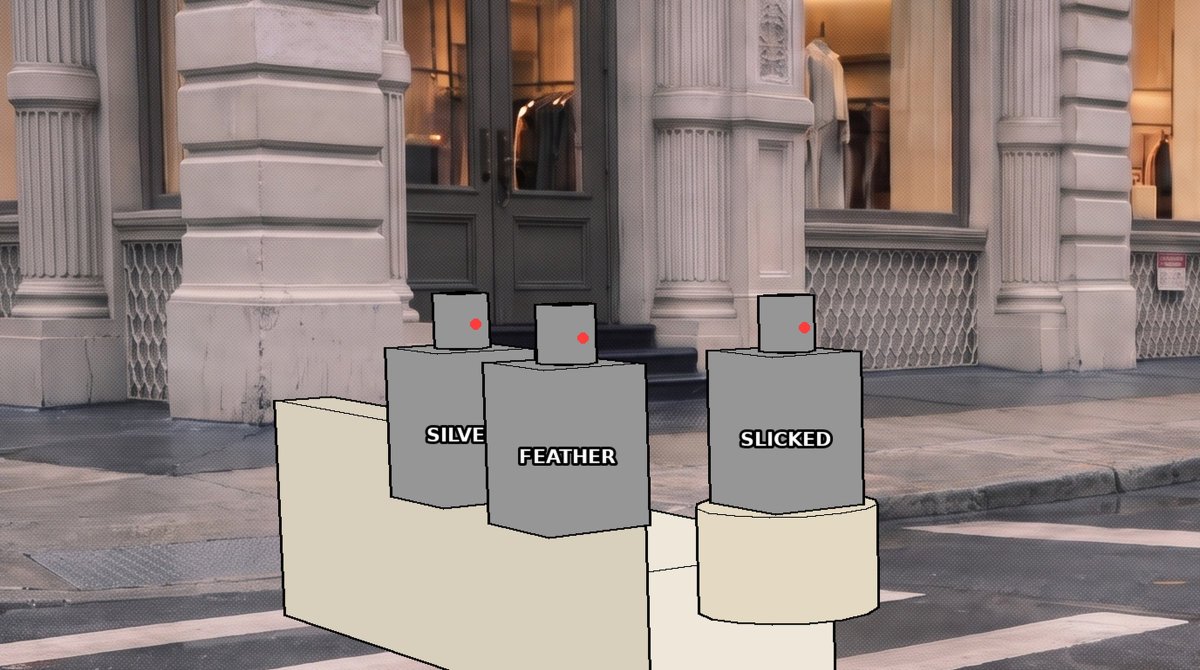
Riley reports that a single Claude prompt produced code to build a complete room in Blender—including a desk, MacBook, lighting, and a web page displayed on the laptop screen—during a live stream. The workflow also animated 13 camera shots, key presses, a character, and changing daylight, then rendered the scene in 4K using 10 RunPod GPUs in 52 minutes for $5.75; Riley says it also handled grading and titles, with ElevenLabs used for music and sound effects.
RunsOnTreg is a searchable directory for discovering what people build with Treg, collecting open tools, examples of real-world uses posted on X, and Treg guides; it refreshes daily and is free with no sign-up. Coding agents can search the directory over MCP, making it a resource for agent-assisted discovery of tools and workflows. The creator disclosed being a Treg affiliate.
Riley recommends that technically skilled developers try unusual creative projects with agents, such as making YouTube videos; he says Claude can edit the entire video, as Muhammad did. He praises @zulali’s second YouTube video as the most creative video he had seen made using agents and notes it reached 1 million views.

Cursor published an update on a recent security incident, with an overview of what happened and its remediation steps; the post itself does not describe the incident or remedies.
LangChain introduced a new LangSmith platform for the agent development lifecycle—build, run, improve, and govern agents—and describes it as built for and powered by agents; the linked announcement characterizes it as framework-agnostic.